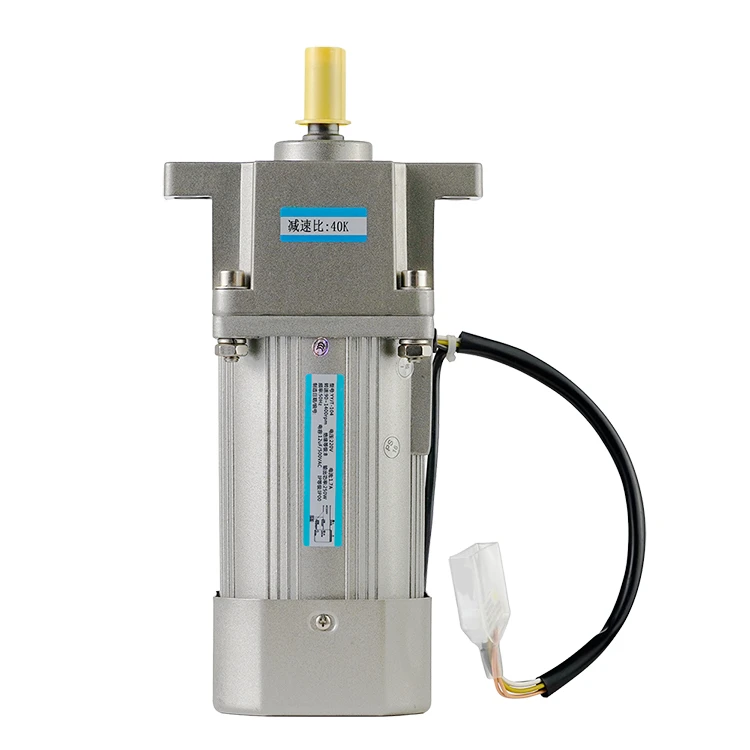
How to control speed of servo motor?
2023-10-06 17:21:52
Controlling the speed of a servo motor is a simple process that can be done quickly and easily with the right tools and knowledge. Servo motors are commonly used in a variety of applications, from robotics and automation to manufacturing and aviation.
To control the speed of a servo motor, you will need a few tools and materials, including a servo motor, a servo tester or an Arduino board, and some jumper wires. You will also need a power source and a servo horn or wheel.
The first step in controlling the speed of a servo motor is to prepare the motor and the tools you will be using. First, attach the servo horn or wheel to the servo shaft using the appropriate screws or nuts. This will allow you to see the movement of the servo and make any necessary adjustments.
Next, connect the servo to a power source, such as a battery or a power supply. You will also need to connect the servo tester or Arduino board to the servo, using the jumper wires. This will allow you to control the movement of the servo and make any necessary adjustments.
Once everything is connected and ready to go, you can begin the process of controlling the speed of the servo motor. The first thing you will need to do is determine the current speed of the servo. This can typically be done by manually moving the servo horn or wheel and observing the speed at which the servo shaft rotates.
Once you have determined the current speed of the servo, you can use the servo tester or Arduino board to send a pulse width modulation (PWM) signal to the servo. The pulse width of the PWM signal determines the position of the servo, with a pulse width of 1.5 milliseconds corresponding to the neutral position.
To control the speed of the servo, you will need to adjust the pulse width of the PWM signal. If you want to increase the speed of the servo motor, for example, you can do so by decreasing the pulse width below 1.5 milliseconds. This will cause the servo to move more quickly.
Alternatively, if you want to decrease the speed of the servo, you can do so by increasing the pulse width above 1.5 milliseconds. This will cause the servo to move more slowly.
It's important to note that controlling the speed of a servo motor can be a delicate process, and it may take some time and patience to get it right. You may need to experiment with different pulse widths to find the one that provides the desired speed of movement.
In addition to controlling the speed of the servo motor, you may also need to adjust the servo's endpoints. The endpoints are the minimum and maximum positions that the servo can move to, and they are typically set by the manufacturer.
To adjust the servo's endpoints, you will need to use a digital caliper to measure the distance between the servo horn or wheel and the servo body at the minimum and maximum positions. You will then need to use the servo tester or Arduino board to adjust the pulse width to match the measured distances.
For example, if the minimum distance is 30mm and the maximum distance is 70mm, you would set the pulse width to correspond to those distances. This would typically be a pulse width of 0.6 milliseconds for the minimum position and 2.3 milliseconds for the maximum position.
Once you have controlled the speed of the servo motor and adjusted the servo's endpoints, you can test the servo to ensure that it is moving properly. You can use the servo tester or Arduino board to send commands to move the servo through its full range of motion. Observe that it moves smoothly and stops accurately at the minimum and maximum positions.
With the speed and endpoints calibrated, the servo is now ready to be implemented in your application. Some common uses of servos with variable speed control include robotics, where different arm or leg movements require unique speeds. 3D printers also rely on precise servo positioning and speeds for tool movements.
Being able to control speed parameters opens up new possibilities for servo applications. Time-based sequences can be programmed to playback movements at adjustable paces. Speed sensitivity allows for real-time reactive control in response to external triggers too.
Overall, learning to set and adjust servo speeds empowers you to integrate these motors into more sophisticated builds. With an Arduino or servo tester, some basic programming knowledge, and a little trial and error, any project can take advantage of servo speed control. Explore new speed-dependent designs by taking the time to calibrate each motoroptimally.
See What Lunyee Can Do For You
Contact Us
- 8619149417743
- +86-0371-5562 0274
- [email protected]
- Zhengzhou, Henan Province, China
- Mon-Fri: 9:00 - 18:00
