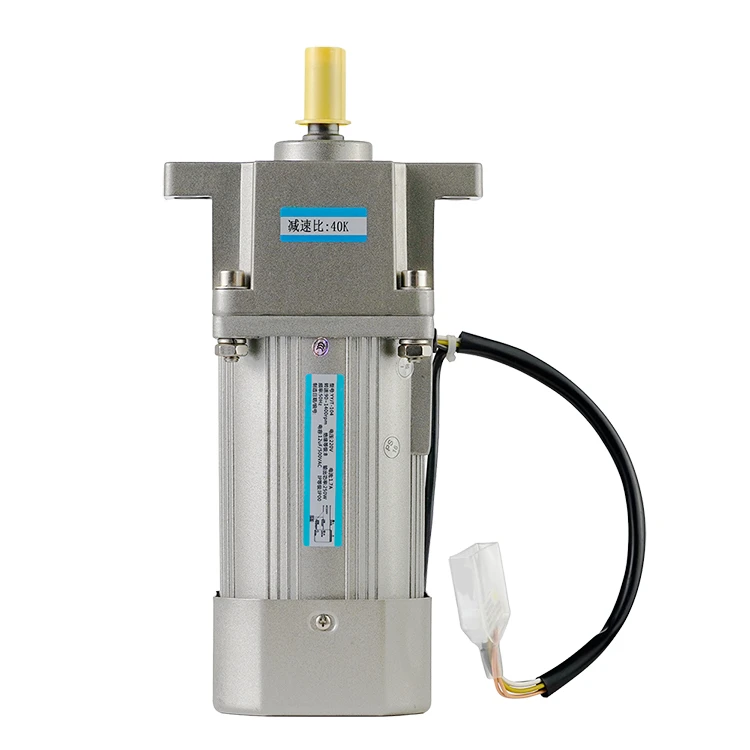
How to disassemble servo motors?
2023-12-15 14:14:12
Servo motors are integral components in modern industrial and robotics applications, providing precise control of angular position, velocity, and acceleration. Disassembling a servo motor is a task that requires a methodical approach to ensure the integrity of the components for potential reuse or repair. This essay outlines a professional and detailed procedure for disassembling a servo motor, ensuring clarity and readability for professionals in the field.
Preparing for Disassembly
Understanding the Servo Motor
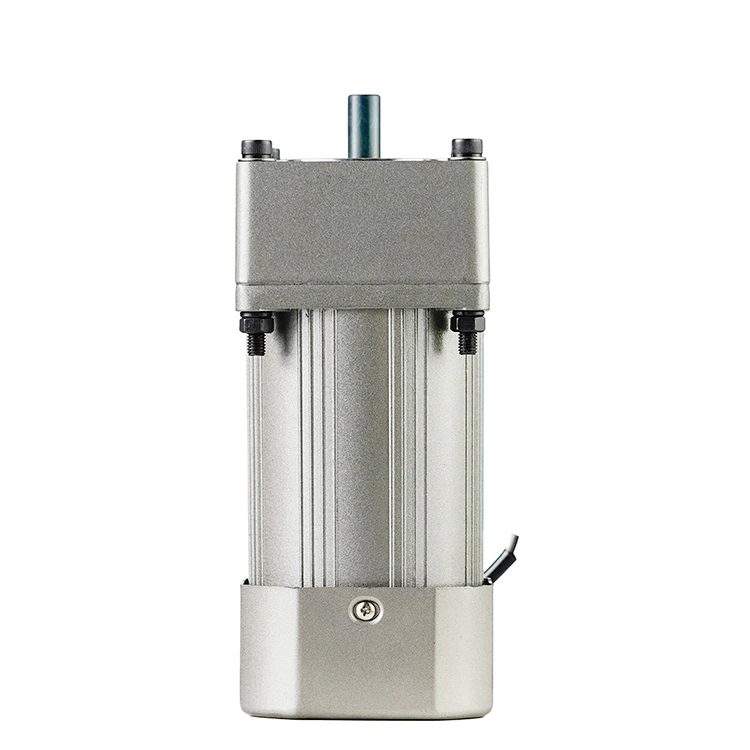
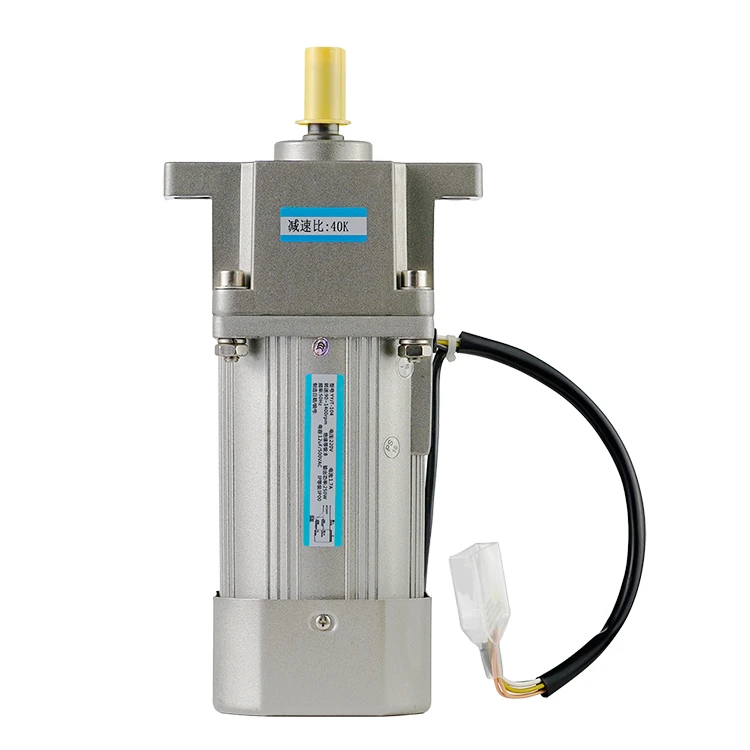
Before commencing disassembly, it is crucial to understand the servo motor's construction and operation. A typical servo motor comprises a control circuit, a motor, a gear train, a potentiometer, and a feedback system. Familiarity with these components aids in careful disassembly and reassembly, if necessary.
Gathering Necessary Tools
The right tools are essential for disassembling a servo motor. Common tools required include screwdrivers, pliers, a soldering iron, and sometimes a proprietary disassembly kit provided by the servo manufacturer. Ensure all tools are in good condition and suited for the specific model of the servo motor.
Safety Precautions
Safety cannot be overstated when working with electrical components. Disconnect the servo motor from any power source, wear appropriate protective gear, and work in a well-lit, static-free environment.
External Component Disassembly
Removing the Motor Casing
Begin by removing the screws that secure the servo motor casing. Screws may be located on the motor's front, back, or sides, depending on the design. Use the appropriate screwdriver to avoid stripping the screw heads. Once the screws are removed, gently separate the casing to expose the internal components.
Detaching External Wires
If the servo motor has external wires or connectors, carefully detach them. If they are soldered to the motor's control board, use a soldering iron to remove the solder and free the wires. Take note of the wiring configuration for reassembly or repair purposes.
Internal Component Disassembly
Unveiling the Gear Train
With the casing removed, the gear train is usually accessible. Remove any retaining clips or screws holding the gears in place. It's imperative to document the order and orientation of the gears as they're removed to ensure correct reassembly.
Accessing the Control Circuit and Potentiometer
The control circuit and potentiometer are delicate and should be handled with care. Unscrew any fasteners securing the circuit board and gently lift it from the housing. The potentiometer is usually connected to the circuit board and may require desoldering for complete removal.
Removing the Motor
The motor itself is typically connected to the gear train and may be screwed into the housing. Remove these connections carefully, ensuring not to damage the motor's windings or terminals.
Inspection and Cleaning
Examining Components
With all components disassembled, inspect each part for signs of wear, damage, or electrical failure. Look for stripped gears, burnt-out circuits, or corroded connections that may necessitate repair or replacement.
Cleaning
Use appropriate cleaning agents and tools to clean the disassembled parts. Avoid harsh chemicals that could damage plastic or electronic components. Compressed air can be useful for removing dust from hard-to-reach areas.
Conclusion: The Precision of Disassembling a Servo Motor
Disassembling a servo motor is a precise process that demands attention to detail, a thorough understanding of the motor's components, and the right tools. Starting with the external casing and methodically working inwards to the motor's core ensures that each part is carefully removed and inspected. This systematic approach not only aids in effective disassembly but also ensures that the components can be reassembled or repaired with minimal risk of damage. Safety and documentation are paramount throughout the disassembly process. Taking notes and photographs can assist in reassembly, while adherence to safety protocols protects both the individual and the servo motor from harm.
See What Lunyee Can Do For You
Contact Us
- 8619149417743
- +86-0371-5562 0274
- [email protected]
- Zhengzhou, Henan Province, China
- Mon-Fri: 9:00 - 18:00
