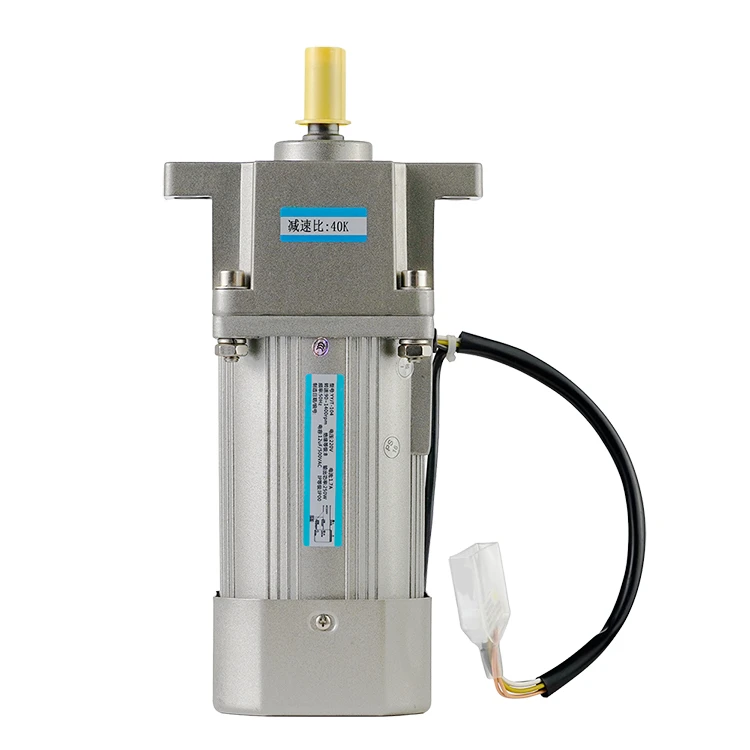
How to hop up a hub motor?
2023-05-25 15:46:12
Hooking a hub motor to an electric scooter is a crucial step in the process of building or modifying an electric scooter. A hub motor is a type of electric motor that is built into the hub of a wheel, and is commonly used to power electric scooters and other electric vehicles. To hook a hub motor to an electric scooter, you will need to follow the steps outlined below.
Step 1: Gather the Necessary Tools and Materials
To hook a hub motor to an electric scooter, you will need a variety of tools and materials. These may include a torque wrench, a range of bike-specific tools such as allen wrenches and a chain breaker, wire strippers, heat shrink tubing, and crimp connectors. You may also need additional hardware such as screws or bolts to secure the connections.
Step 2: Remove the Wheel and Motor
The first step in the process of hooking a hub motor to an electric scooter is to remove the wheel and motor from the scooter. Depending on the specific model of scooter that you are working with, the process for doing this may vary slightly. In most cases, however, you will need to loosen the bolts or nuts that hold the wheel in place, and then remove the wheel from the frame. If the hub motor is attached to the wheel, you will need to remove it as well.
Step 3: Install the Motor
Once the wheel and motor have been removed, you can begin installing the hub motor. This will typically involve attaching the motor to the frame of the scooter using bolts or other hardware, and then reattaching the wheel to the motor. Be sure to follow the manufacturer's instructions carefully and use a torque wrench to tighten the bolts to the appropriate level.
Step 4: Connect the Motor to the Controller
After the hub motor has been installed, you will need to connect it to the controller. This will typically involve running wires from the motor to the controller, and attaching them to the appropriate terminals using crimp connectors or other fasteners. You may also need to make connections for power, ground, and signal. Be sure to follow the manufacturer's instructions carefully and use appropriate electrical tape or heat shrink tubing to cover the connections.
Step 5: Test the System
After the hub motor has been connected to the controller, you can test the system to ensure that it is working properly. This may involve activating the controller and observing the motor for any signs of operation. If everything is working correctly, you should be able to control the speed and direction of the motor using the controller.
Step 6: Secure the Connection
To secure the connection, you can use electrical tape, heat shrink tubing, or other methods to protect the wires and connections. This will help prevent damage to the wires and ensure that they remain in place while the scooter is in use.
Step 7: Test the Scooter
Once the hub motor has been installed and connected to the controller, you can test the scooter to ensure that it is functioning properly. This may involve taking the scooter for a test ride, observing the performance of the motor, and checking for any issues or problems. If everything is working correctly, you can begin using the scooter as normal.
In conclusion, hooking a hub motor to an electric scooter is a complex and technical process that requires a good understanding of electric motor systems and bike mechanics. By following the steps outlined above and paying careful attention to detail, you can ensure that the motor is installed safely and properly, and that your electric scooter is ready for operation.
See What Lunyee Can Do For You
Contact Us
- 8619149417743
- +86-0371-5562 0274
- [email protected]
- Zhengzhou, Henan Province, China
- Mon-Fri: 9:00 - 18:00
